Wrap a gift quickly and neatly: How to do it perfectly
More than 60 percent of customers choose a gift based on the packaging more often than the product itself. For local gift shops in Central Europe, attractive packaging can make the difference between a one-time visitor and a returning customer. A smart choice of wrapping materials not only creates a professional image but also helps prevent waste. Discover today how to quickly and efficiently select the perfect packaging for every gift.
Table of contents
- Step 1: Choose suitable packing material
- Step 2: Arrange supplies clearly
- Step 3: Measure and cut the wrapping paper to size
- Step 4: Fold and secure the paper tightly around the gift
- Step 5: Finish with ribbons and decorations
- Step 6: Check the final result for neatness
Short Summary
| Key point | Explanation |
|---|---|
| 1. Choose suitable packaging material | Select wrapping materials that suit the gift and the occasion. |
| 2. Organize your workspace | Arrange all supplies clearly for an efficient packing process. |
| 3. Measure and cut accurately | Make sure you have the right dimensions for wrapping paper to get a sleek look. |
| 4. Fold and secure tightly | Fold the wrapping paper neatly around the gift and use minimal tape for a neat finish. |
| 5. Check the final result | Check the gift critically for neatness and ensure there are sharp edges and no wrinkles. |
Step 1: Choose suitable packing material
Choosing the right wrapping materials is crucial for a professional and attractive gift presentation. Different occasions and gift formats require specific packaging materials that are both practical and decorative.
Start by selecting materials that suit the size and shape of the gift. Smaller paper gift bags, for example, are ideal for small items like jewelry or cosmetics. They create a neat presentation without using unnecessary packaging. Pay attention to the size so the gift looks neat and tidy.
For a complete gift wrapping, you'll need various materials. Think of wrapping paper, tape, ribbons, and decorative elements. Combine these materials carefully to create a festive and professional look. Quality is more important than quantity.
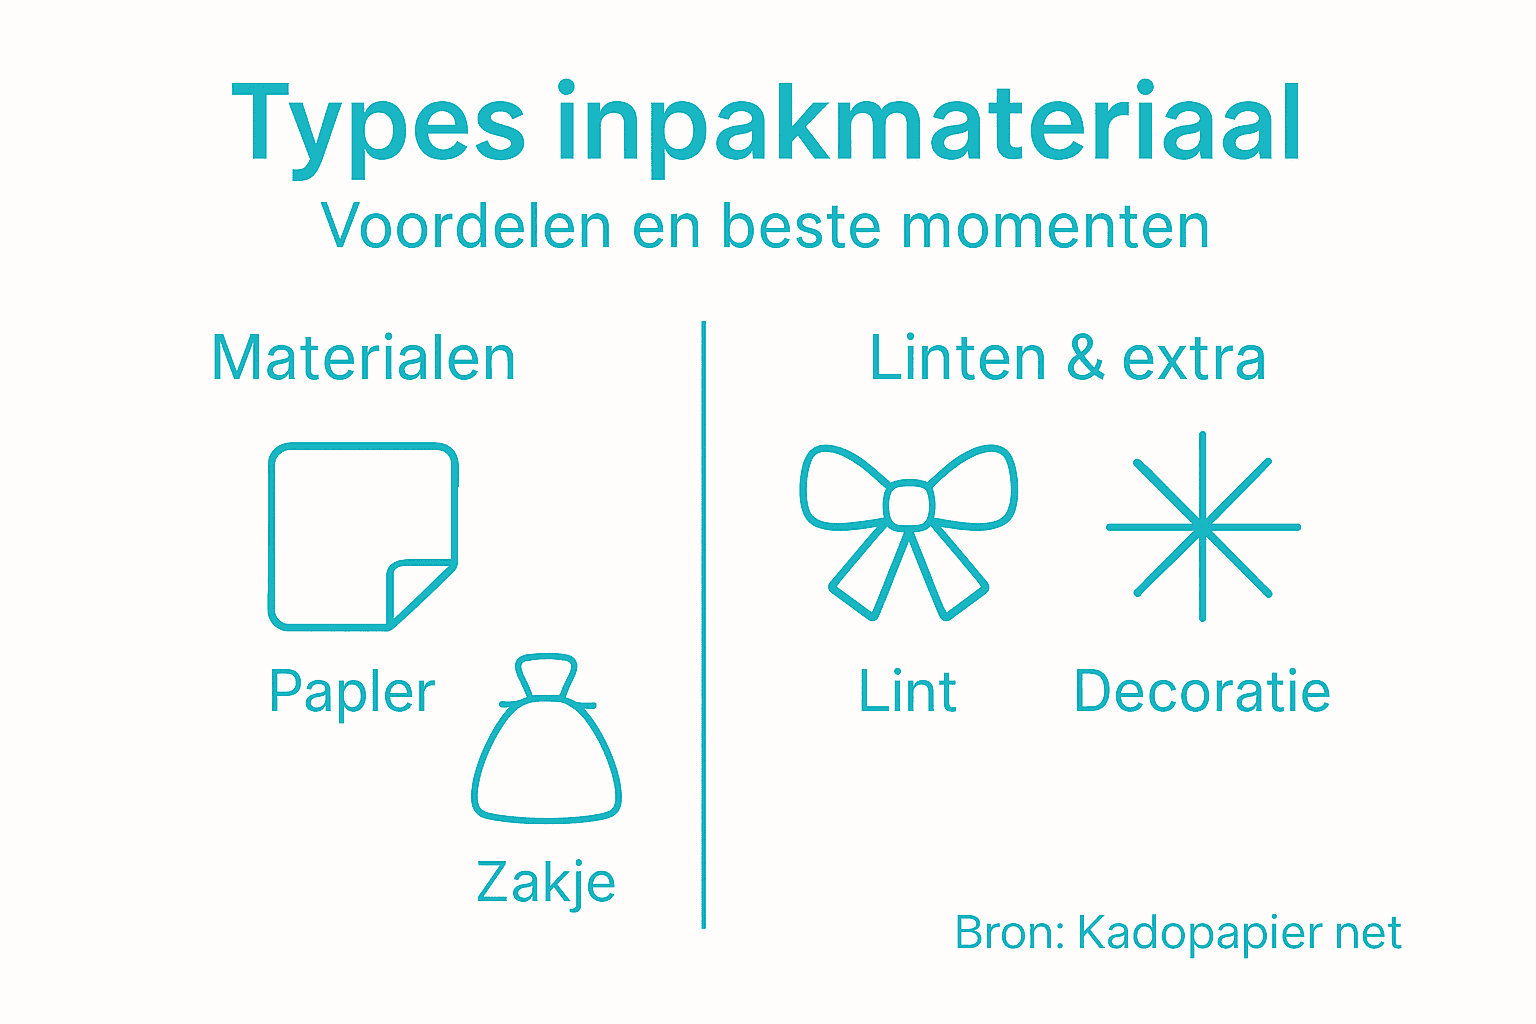
Below you will find an overview of common types of packaging materials, their characteristics and the most suitable time of use.
| Type of material | Advantage | Best time to use |
|---|---|---|
| Wrapping paper | Easy to customize | Suitable for rectangular gifts |
| Gift bag | Time-saving and compact | Small, individual gifts |
| Cloth bag | Reusable and sustainable | Jewelry, luxury gifts |
| Cellophane | Transparent, festive | Candy, basket packaging |
Pro tip: Choose wrapping materials that match the recipient's personality and the occasion to make the gift extra special.
Step 2: Arrange supplies clearly
Preparing your workspace is a crucial step in perfectly wrapping a gift. By laying out all your materials beforehand, you'll make the wrapping process much easier and more enjoyable.
Organize your work surface with all necessary materials within easy reach. Gather wrapping paper, tape, sharp scissors, ribbons, and any decorative elements like stickers or confetti. Provide a spacious, clean, and flat surface where you can work comfortably. By laying everything out beforehand, you'll avoid unnecessary searching and interruptions to your wrapping process.
Consider your workspace layout. Place the scissors on your dominant side, make sure the tape is easily accessible, and lay out the wrapping paper, flat and unfolded. Arrange your materials so you can work efficiently without constantly shifting or reaching.
Pro tip: Use a tray or large cutting board to gather all your materials so you can easily move them around and keep your work surface tidy.
Step 3: Measure and cut the wrapping paper to size
Accurately measuring and cutting wrapping paper is essential for a professionally and neatly wrapped gift. Good preparation prevents mess and ensures a neat appearance.
Unroll the wrapping paper on a flat surface and carefully measure it by placing the gift on top. Allow a few extra inches on each side. A good rule of thumb is to measure the paper so that you can easily cover the sides when folded inward.
Use a pen to mark the precise dimensions and cut the paper neatly along these lines. It's wise to cut more generously than too tightly. You can always trim excess paper later, but too little paper is harder to correct. Check several times before making your final cut to avoid waste.
Pro tip: Use a cutting mat and a sharp rotary cutter for the most precise cuts and to ensure straight edges.
Step 4: Fold and secure the paper tightly around the gift
Folding wrapping paper neatly and precisely is the key to a professional-looking gift. With the right technique, you can create a polished package that looks professionally wrapped.
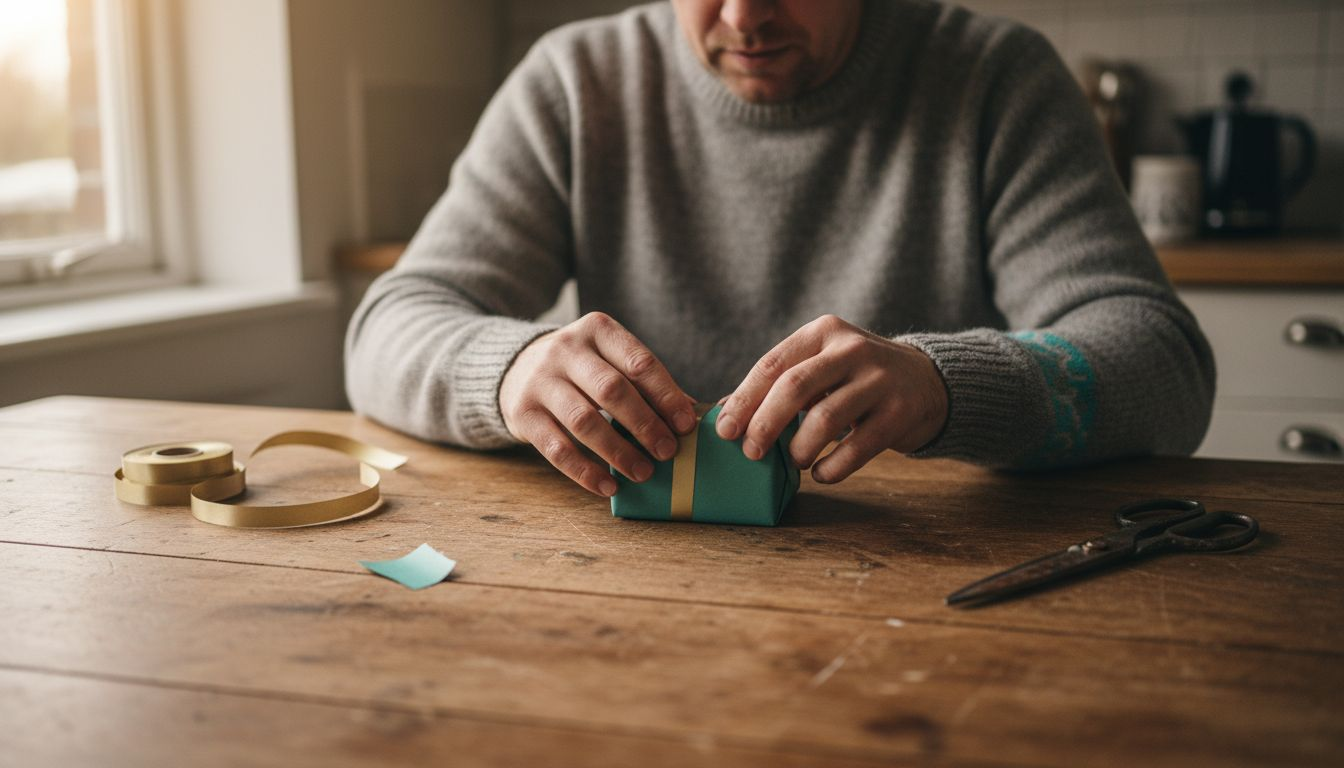
Fold the sides of the paper tightly around the gift and use small pieces of tape to secure them. Start with the longest sides and make sure the paper lies smoothly and tightly around the gift. The trick is to use minimal tape and create clean, sharp folds.
At the open sides, create neat triangles by folding the edges inward. Press the top edge down firmly to form symmetrical triangles. Press the folds firmly to ensure crisp edges and secure them with small pieces of adhesive tape. Repeat this on both sides until the gift is completely wrapped with smooth, crisp edges.
Pro tip: Use your thumb and index finger to make the folds extra tight and sharp by firmly sliding them over the edge.
Step 5: Finish with ribbons and decorations
Adding ribbons and embellishments is the finishing touch that transforms your wrapped gift from ordinary to special. With the right decorations, you give the gift a personal and festive touch.
Select ribbons that suit the occasion and the recipient's taste. Choose satin ribbons for a luxurious look or cotton ribbons for a rustic touch. Wrap the ribbon tightly and symmetrically around the gift and create a bow that looks neat and elegant.
Besides ribbons, you can add extra decorations like small wooden tags, dried flowers, or glitter stickers. Be careful not to overdo it, though, as too many embellishments can make the wrapping look cluttered. Choose decorations that enhance the gift's ambiance and suit the recipient.
The chart below will help you choose ribbon or decoration depending on the occasion:
| Occasion | Recommended ribbon | Extra decoration |
|---|---|---|
| Birthday | Brightly colored satin ribbon | Wooden label with name |
| Christmas | Red/green velvet ribbon | Pine cone or bell |
| Wedding | White, wide satin ribbon | Dried flower or pearls |
| Birth | Baby blue or pink cotton ribbon | Sticker with baby figure |
Pro tip: Use sharp scissors to cut the ribbons at an angle for a professional finish.
Step 6: Check the final result for neatness
A perfectly wrapped gift is more than just paper and ribbon. It's an expression of care and attention for the person you're giving it to.
Scrutinize every detail of your packaging. Check that the folds are smooth and tight, without wrinkles or bumps. Make sure the tape is invisible or minimally visible and neatly applied. The bow or ribbon should be symmetrical, with no protruding or twisted parts.
Also pay attention to small details like any tears in the paper, loose tape edges, or uneven decorations. A professional result is all about the smallest details. Turn the gift over and examine it from different angles to ensure it looks neat.
Pro tip: Use a ruler or smooth table edge to get the folds extra tight and sharp before doing the final check.
Complete your gift perfectly with the right wrapping material
The article emphasizes the importance of wrapping gifts quickly and neatly. Do you also sometimes find yourself unsure about which wrapping material best suits the size of your gift, or the right finishing touches with ribbon and decorations? The key is choosing the right basics, such as sturdy wrapping paper, handy gift bags, and stylish ribbon, to achieve a professional look. Furthermore, a tidy workspace and careful measuring can make your wrapping process much easier.
At Kadopapier.net, you'll find everything you need to effortlessly solve your packaging challenges. Our extensive collection of wrapping paper, various gift bags, and high-quality ribbons will help you create a truly beautiful gift, step by step. Don't wait any longer and discover our practical and stylish packaging products that will give your homemade gift that special something. Start creating the perfect gift wrap that's sure to impress today!
Frequently Asked Questions
How do I choose the right wrapping material for my gift?
Choose wrapping material that suits the size and shape of the gift. Paper gift bags are ideal for small items like jewelry, while wrapping paper is suitable for rectangular gifts.
What do I need to wrap my gift neatly?
Provide wrapping paper, tape, sharp scissors, ribbons, and any decorative elements like stickers. Lay all these materials out in an organized manner to make wrapping easier.
How do I measure wrapping paper correctly?
Unroll the wrapping paper and measure it so there's a few centimeters extra on each side of the gift. Mark the dimensions with a pen and cut the paper neatly along these lines.
What's the best way to fold wrapping paper tightly around a gift?
Fold the edges of the paper tightly around the gift and use small pieces of tape to secure it. Make sure the paper is smooth and free of bumps for a professional result.
Which decorations are suitable to finish off a gift?
Choose ribbons that suit the occasion and the recipient's style. Add subtle embellishments, such as wooden tags or dried flowers, to personalize the gift without cluttering it.
How do I check if my wrapped gift looks neat?
Scrutinize every detail of the packaging to ensure smooth folds and minimal tape visibility. Check for tears and ensure the bow is symmetrical for a professional-looking finish.